Movavi Photo Editor Review
Are you taking pictures as a hobby and looking for a good, inexpensive image editing program that lets you easily edit your pictures? Then the Movavi Photo Editor might be just right for you. You can find out what makes the program so special in the following review.
Surface
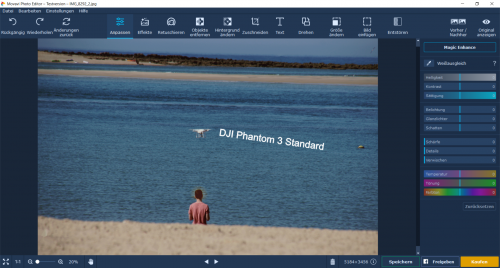
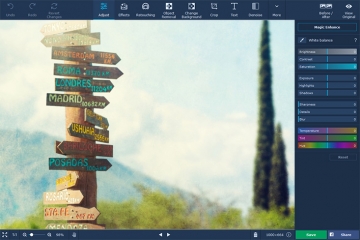
As in the Movavi video editing program, the interface is very simple and clearly structured. In the middle there is a large “monitor” where you can see the image that you want to edit. Above you will find the menu bar, where all functions are located. If you click on one of the icons, a window opens to the right of the image where you can use the functions. Of course you can see the preview immediately on the picture. At the top right, you can place the finished picture next to the original one to view your work. To save the edited image, simply press the Save button. – As I said, super simple and clear.
The most important functions

1. Customize
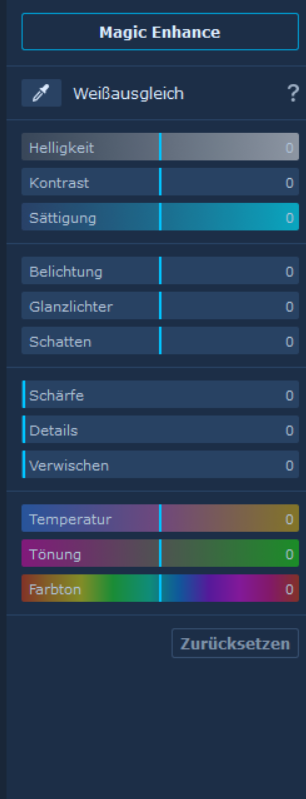
If you click on Customize, you will be shown the usual editing options to the right of the picture, which can also be used with the normal Windows picture program. These are white balance, brightness, contrast, saturation, exposure, highlights, shadows, sharpness, detail, blur, temperature, tint and hue. Here you can add filters to your image manually by changing the colors. At the top there is a point “Magic Enhance”. There the image editing program can automatically improve the brightness and contrast of the image.
2. effects
Here are plenty of preset effects that you can put over your image. Furthermore about 120 different filters with effects are available to you. To find the perfect one, there is an extra menu where you can select criteria such as disco, classic, textures or artistic.
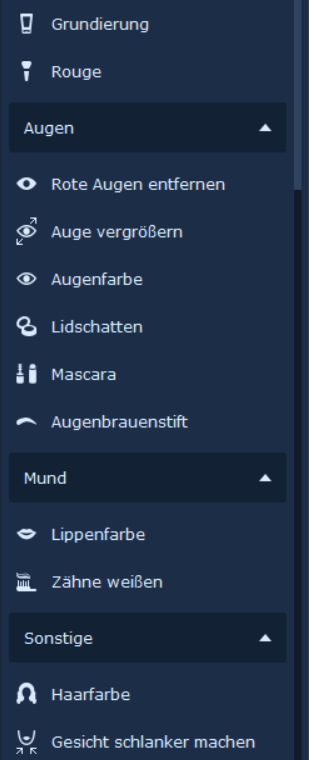
3. retouching
Here you can actually edit everything you don’t like afterwards. You can make up people, remove stains and wrinkles, change eye color or size, remove red eyes, change lip color, whiten teeth, or even change hair color and face shape.
4. Remove objects
This is by far my favorite function. You probably experienced it yourself… you want to take a nice picture of the beach on holiday. Unfortunately there is always someone running through the picture or can be seen in the background. That’s no longer a problem. You simply select something you want to remove, and then click Start Delete. Then the program removes the marked area and replaces it with the colors around it so that the change is not noticeable. But of course this only works for relatively small things. Otherwise, it can get noticed.
| vorher | nachher |
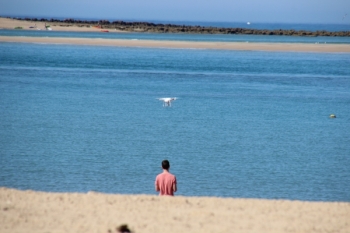 | 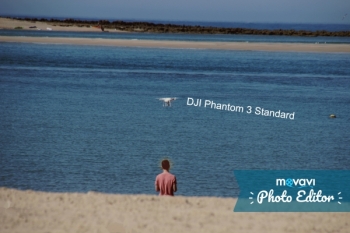 |
5. Change background
Here you can easily mark the background and replace it with another one.
6. Cut
This function is also known from the free programs. Here you can customize your image and set formats.
7. Text
Here you can write a text or a heading and drag it to any position in the image. In addition, you get the whole range of setting options, from the font, to the opacity, the font color or underlining. You know it from Word.
8. Rotate
Here you can adjust the angle of the image, if the photo was taken a bit crooked.
9. Change size
Here you can decide how many pixels you want your image to be long and high.
10. Insert images
Here you have the possibility to add more images, for example to create collages.
11. Improve

When you took a photo under special circumstances, such as night, concert, or low light. The program then adapts the photo to the events. These were all functions for image editing with the Movavi Photo Editor. On the far right you will find a button "Before/After”; to compare your result with the original image. When you are satisfied, simply press the save button at the bottom right and the artwork is ready.
Which version is the best?
The Movavi Photo Editor is available in two different versions. First the standard version for 30€, which I tested, and a “Big Photo Bundle”, where you have even more functions with effects and you can create slideshows, but for the daily use I would recommend the standard program. This is definitely enough for me.
Do you even have to spend money on an image editing program?
No, of course not. There is also a good free program like GIMP, which I also use. However, you don’t get such a beautiful and clear surface with any of them. In my opinion, a paid program is worthwhile. If you are not sure and want to convince yourself of the program, you can simply download the free trial version from the manufacturer’s homepage.
Conclusion
The Movavi Photo Editor is a great photo editor for hobby photographers. For a small price, you get here a lot of functions and a very clear interface, which you know after the first use. In my opinion the program is worthwhile if you want to get more out of your photos.